Read time: 5 minutes
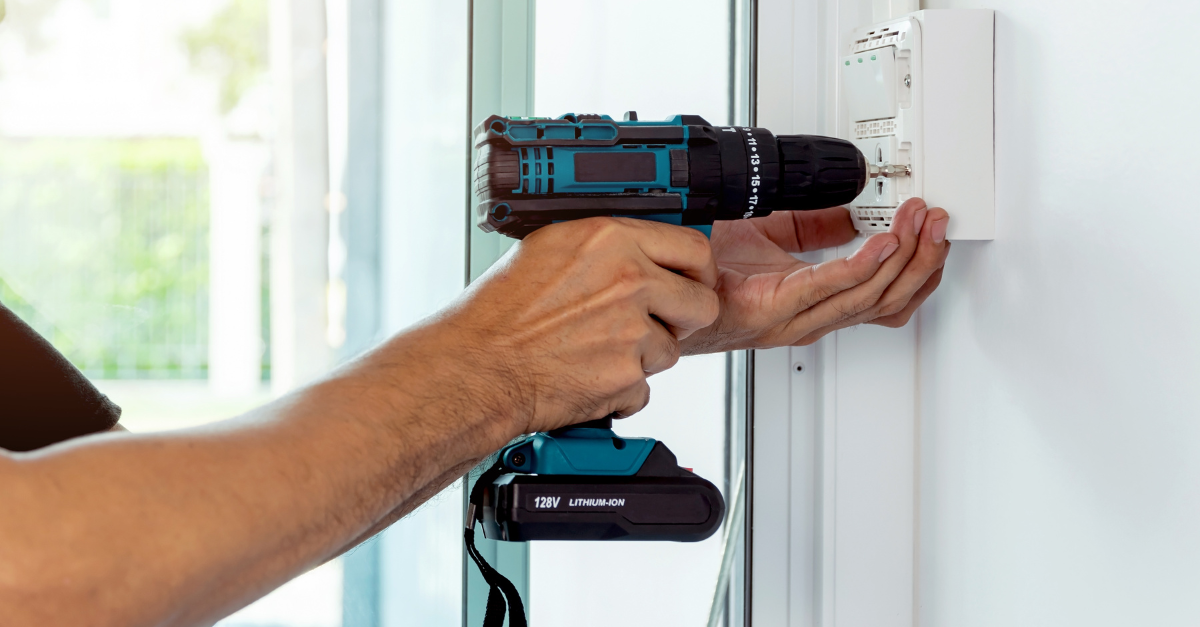

Before making a permanent change, confirm the exact mounting location with the buyer, work order, and end client. If anything is unclear, stop and verify before drilling.
Whether you are mounting a kiosk, security device, network equipment, digital signage, or AV technology, drilling into counters, conference tables, walls, and displays may be part of your work order.
One misplaced hole, however, can become an expensive mistake. Custom countertops, decorative wall coverings, conference room furniture, retail fixtures, and display systems may be difficult or costly to repair. In some cases, a mounting error can require replacement of an entire countertop section, wall panel, or display assembly.
Many of these incidents can be prevented through clear communication, careful inspection, and the correct installation tools and methods.
Before creating a permanent hole or modifying a finished surface, make sure all parties are aligned on the final installation location.
Do not assume a location is approved simply because equipment was shipped or a work order identifies a general area.
Different materials require different drill bits, speeds, anchors, hardware, and installation techniques.
If the material is unfamiliar or appears high value, verify the approved installation method before proceeding.
The visible surface does not tell the whole story. Check the mounting area for concealed systems and verify that the proposed hole depth is appropriate.
The correct tools improve installation quality and reduce the chance of cracking, chipping, splintering, or over-drilling.
A professional installation includes protecting the surrounding area before, during, and after the work.
| BEFORE YOU DRILL: 5-POINT CHECK
1. Placement approved by the buyer and end client 2. Work order and site instructions agree 3. Surface material and approved method confirmed 4. Hidden utilities and obstructions evaluated 5. Correct bit, hardware, depth, and protective measures ready |
The most expensive property damage incidents often begin with an assumption. Pause and seek clarification if there is uncertainty about placement, surface material, attachment method, hidden utilities, or customer expectations.
A short delay to verify requirements is better than damaging a custom fixture or finished surface.
Successful installations start before the drill touches the surface. Confirm placement with all parties, understand the material, inspect for hidden hazards, and use the correct tools and hardware. A few extra minutes of planning can prevent costly damage, rework, and customer dissatisfaction.
When in doubt: pause, verify, and communicate.
This information is provided by Intact Insurance Specialty Solutions, the marketing brand for the insurance company subsidiaries of Intact Insurance Group USA Holdings Inc., including Atlantic Specialty Insurance Company, Homeland Insurance Company of New York, Homeland Insurance Company of Delaware, OBI America Insurance Company, The Guarantee Company of North America USA, or OBI National Insurance Company. This document is provided for general informational purposes only and does not constitute and is not intended to take the place of legal or risk management advice. Readers should consult their own legal counsel or other representatives for any such advice. This document does not purport to identify all possible or significant hazards at a premises or in your operations. In addition, it does not undertake to bring you into full compliance with any local, state or federal health or safety laws or contractual obligations. Further, by providing this document, we do not assume any obligations you may have to identify, manage, control or correct any hazard on your premises or in your operations.